

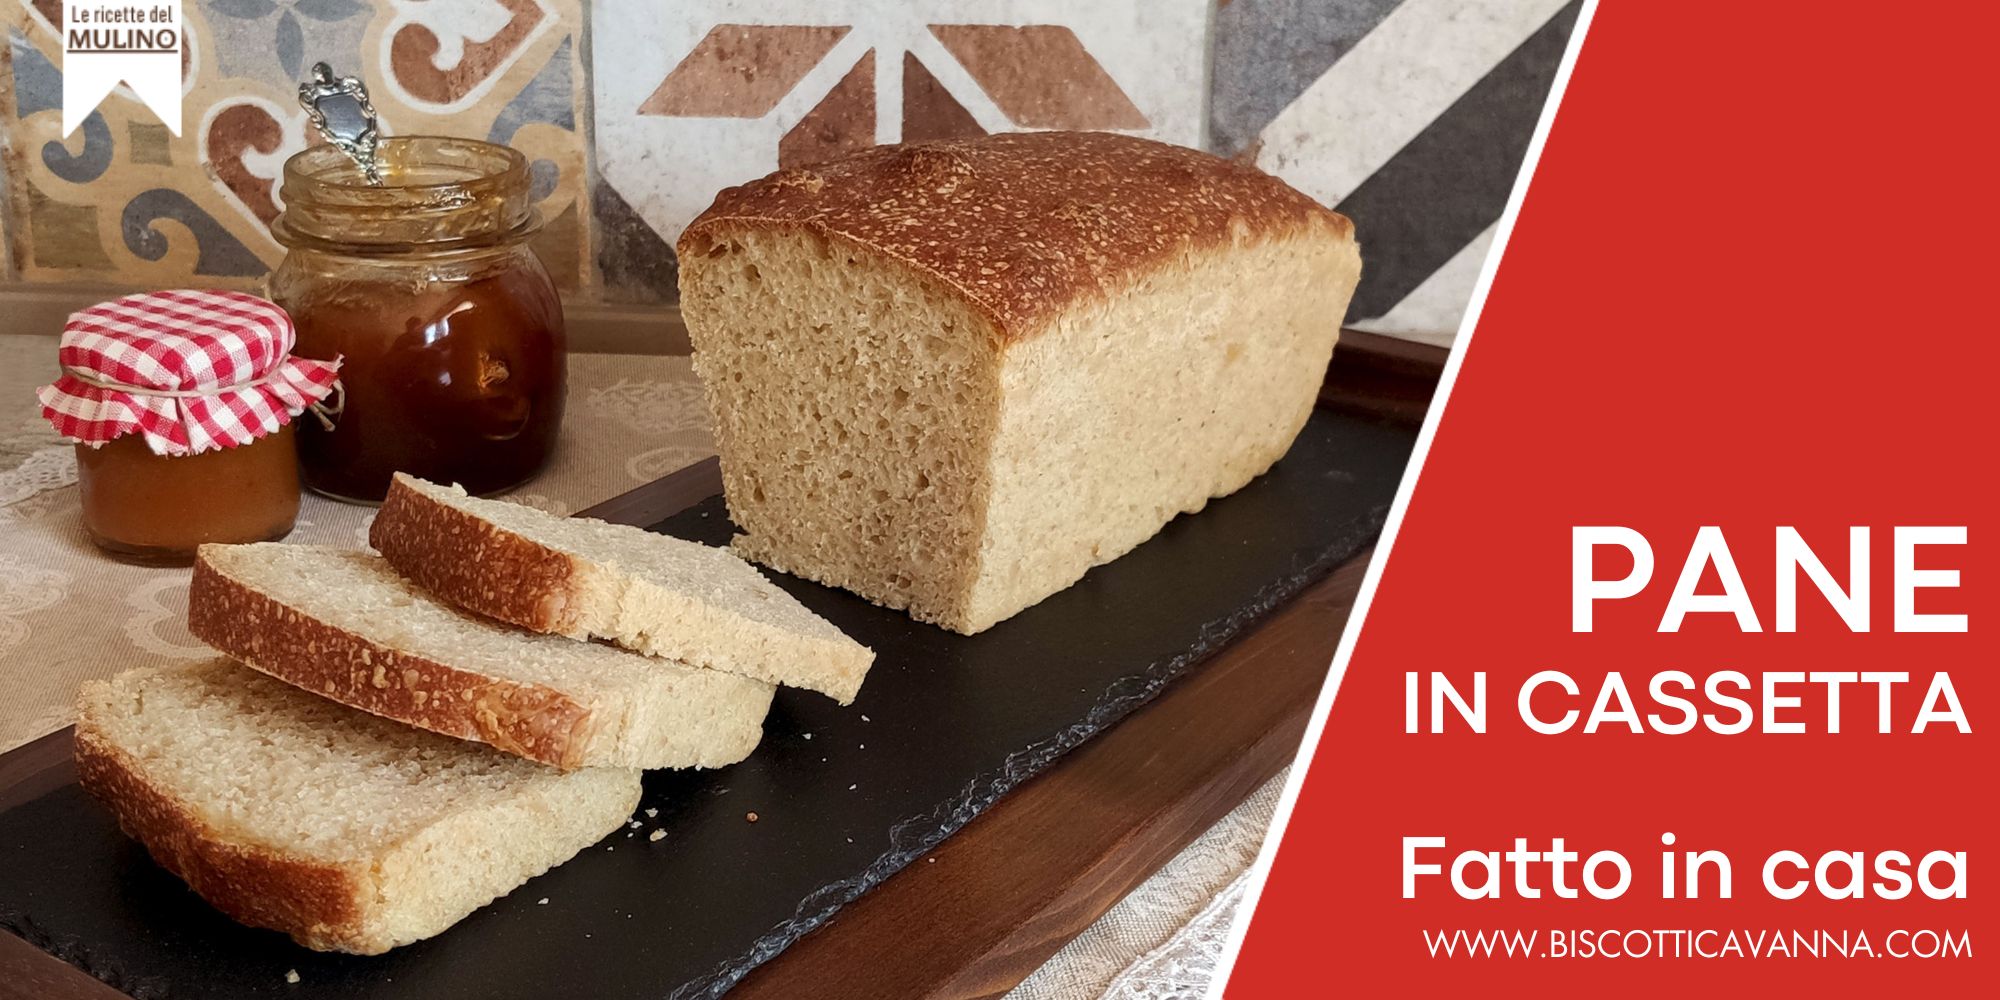
With Semi-Wholemeal Flour
Perfect for breakfast, with a layer of jam or with hazelnut cream, even for a snack!
But if stuffed with ham and cheese it becomes a great sandwich perfect as a snack.
If you want to try your hand at breadmaking, this bread is a great place to start because it requires no special attention or tools and you can bake it safely in your home oven.
There is a special, square-shaped mold with a lid, but we used a simple pound cake mold that we all have at home and that’s it.
The choice of ingredients
- You can choose the flour you prefer, not necessarily a refined strength flour; in fact, we chose Super Semi Whole Wheat Flour, a blend of stone-ground white and whole wheat flour that makes the bread even tastier and more nutritious.
Be careful, however, not to use pure Wholemeal flour because it would be too heavy and difficult to rise. - We used dry brewer’s yeast, but you can substitute it with fresh brewer’s yeast by doubling the amount and controlling the rising time according to the volume of the dough.
- In the dough we did not use sugar but a teaspoon of honey which helps fermentation and consequent leavening, you can also use a well-crushed ripe banana which has the same function but makes the alveolation more open and therefore the slice of bread less compact.
- Once you have formed the loaf and placed it in the mold if you like, you can brush the surface with milk and beaten egg and then sprinkle with seed mix to make your bread even richer and with a crisp and tasty crust.
Cassette bread, Pan Carré or Pan Bauletto?
Let’s start with the generic term “loaf bread,” which means a homemade loaf made in a mold, which is then cut into slices and used to spread jams or creams or as a base for sandwiches and toast.
Pan Carrè, just as the name implies, is square in shape with compact alveolation and a very elastic texture, given by the use of milk inside the dough that makes it very pliable.
Pan Bauletto, on the other hand, resembles a brioche more, due to its swollen shape on the surface and more open alveolation; the texture is soft and fluffy but in most recipes the use of milk is not included and therefore it is difficult to roll because it is less elastic.
Conservation
For storage, we recommend consuming the bread fresh within 2 to 3 days, storing it in a plastic food bag so that it retains its softness.
It is possible to freeze it, already in slices, so that you can thaw the necessary amount as needed.
All you have to do is knead, take your time to rise, and you will see that you will repeat this recipe many more times.
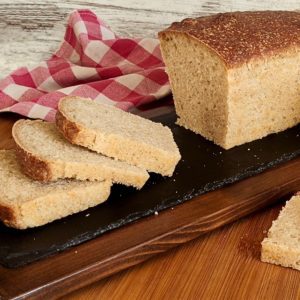
Pane in cassetta
STRUMENTI
- 1 stampo da plum cake misura circa 10x26 cm
Ingredients
- 500 g Farina di grano tenero Semi Integrale Super
- 7 g Lievito di Birra secco
- 350 g Acqua
- 1 cucchiaino Miele
- 10 g Sale
- 40 g Olio extravergine di oliva
Instructions
- In planetaria, montare il gancio impastatore e unire farina e lievito, a secco.
- Aggiungere l'acqua poco la volta e intanto impastare. Tenere da parte un po' di acqua.
- Aggiungere il miele e impastare.
- Aggiungere il sale e l'acqua restante e lavorare sino a quando l'impasto non risulta ben incordato al gancio della planetaria.
- Per ultimo aggiungere l'olio, con l'aiuto di un tarocco ripulire dalla pasta il fondo della ciotola in modo da far penetrare l'olio sul fondo e poi azionare il gancio.
- Impastare sempre a bassa velocità sino a quando l'impasto non avrà assorbito tutto l'olio e sarà liscio e omogeneo.
- Trasferire su un piano oleato, l'impasto è molto idratato e perciò leggermente appiccicoso, niente paura. Dare forma di panetto circolare con le mani e poi riporre in una ciotola capiente oleata e coprire con pellicola alimentare.
Lievitazione
- Lasciare riposare a Temperatura ambiente, circa 20°, se l'ambiente è più fresco avvolgere la ciotola dell'impasto in una coperta sino al raddoppio del suo volume (circa 2h)
- Su un piano oleato trasferire l'impasto e dare le pieghe: dall'esterno verso l'interno, ripetere l'operazione per ogni lato. Capovolgere l'impasto e lasciare riposare 15 minuti.
- Intanto oleare uno stampo da plumcake o da pane in cassetta
- Con le mani allargare l'impasto formando un rettangolo, dare una piega verso l'interno sui lati corti del rettangolo e poi arrotolare sul lato lungo formando un filone. Sistemare il filone all'interno dello stampo con l'apertura verso il basso.
- Lasciare lievitare a Temperatura ambiente sino al raddoppio del suo volume, circa 2 h.
Cottura
- Preriscaldare il forno in modalità statica a 200° C, infornare il pane in cassetta sul piano leggermente spostato verso il fondo del forno, per 35 minuti.
- Trascorso il tempo abbassare il forno a 180° C, senza aprirlo, e lasciar cuocere per 10 minuti.
- Infine impostare la modalità di riscaldamento solo dal basso e ultimare la cottura per altri 10 minuti.
- Sfornare il pane e lasciar raffreddar alcuni minuti su una gratella in modo che perda umidità.
- Con l'aiuto di un coltello da pane marcare tutto il perimetro dello stampo, capovolgere e batter leggermente sul fondo, il pane si staccherà in un attimo.
- Servire il pane ancora tiepido con marmellata o creme golose, oppure farcire con ingredienti salati creando un sandwich salutare.

